Simple Yet Amazing Nail Art Designs From Items in Your Kitchen
May 28, 2016 | by ashish963@gmail.com
Nail art nowadays has taken on a very pleasant turn with the masses. There are a number of great ideas when it comes to getting your nails groomed in salons and also at home. It takes a lot to maintain these glorious nails at home after spending so much on their upkeep. What many girls have taken to today is getting DIY nail art kits at home and tossing up designs and patterns that look salon-class. I’ll let you in on a few designs that make use of items available in your kitchen:
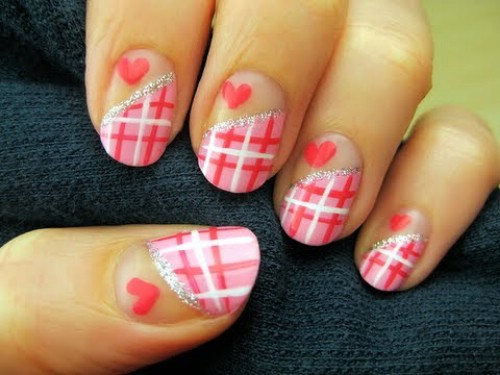
Glorious Hearts
When love is in the air or even otherwise, hearts find their way into classy manicure patterns easily. When doing these for yourself or family at home, you will need to ensure that you have the right shape in mind for a heart to look like a pretty thing on the nails. First place two drops of red nail polish on your base coat just away from each other. Use the rounded end of a matchstick to drag the drops at 45 degree angle towards each other and gently pick out the tapering end.
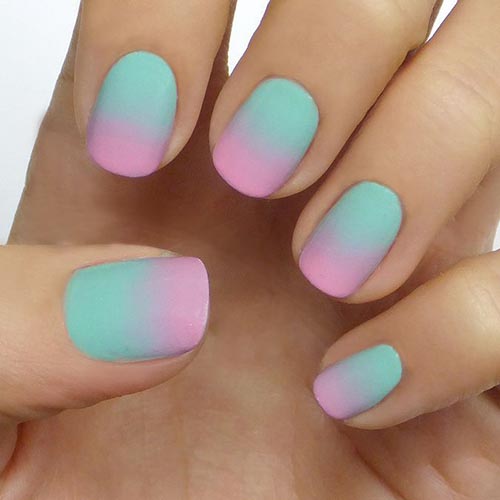
Ombre Nails
One of the newer trends in town, the ombre styled nails can be achieved with simple tools. A kitchen sponge that has been cut flat angularly in a small piece, some foil or baking paper and two colors that stand out together is all you’ll need. Use a plastic plate to drop on some paint of both colors in a way that their edges just merge. Depending on the gradient of the color use a toothpick to swirl the colors together at the meeting edges (more for deeper hue). Dab the flat end of the sponge into the swirl mix and dab gently on your nail slowly moving up and down. Repeat again if required once the first coat has dried. Apply a clear top coat at last.
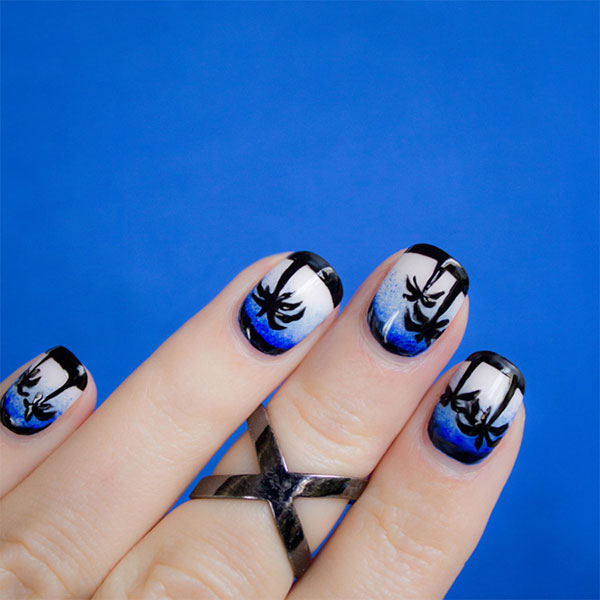
Palms on the Beach
Apply two base coats of white. Use a kitchen sponge piece like above and dab it onto a light shade of blue on the edge and a darker shade of blue just above. Then dab it on your nails once and allow drying. Then use a straw cut half lengthwise and dip the curved edge in black nail paint. Now dab the paint on the blue base coat as the palm leaves. Then cut the straw lengthwise again and dab in black paint again and then draw a downward line to connect the leaves.
Similarly you can use scotch tape, shearing scissors or herb scissors to cut patterns on the tape, stick them on your nails and paint over the edge to create interesting patterns followed by a top coat.
Another idea is to use crumbled cling wrap or foil. When you dab colour onto the crumbled surface and dab it onto a base coat, it creates an edgy pattern that looks great. You can experiment with contrasting colours or just the classic black and white, for a classy look.
RELATED POSTS
View all